
'%20x='0'%20y='0'%20height='100%25'%20width='100%25'%20%0A%20%20%20%20%20%20%20%20%20%20xlink%3Ahref='data:image/jpg;base64,/9j/4AAQSkZJRgABAQAAAQABAAD/2wCEAAMDAwMDAwQEBAQFBQUFBQcHBgYHBwsICQgJCAsRCwwLCwwLEQ8SDw4PEg8bFRMTFRsfGhkaHyYiIiYwLTA+PlQBAwMDAwMDBAQEBAUFBQUFBwcGBgcHCwgJCAkICxELDAsLDAsRDxIPDg8SDxsVExMVGx8aGRofJiIiJjAtMD4+VP/AABEIAAYACgMBIgACEQEDEQH/xABiAAEBAQAAAAAAAAAAAAAAAAAABQgQAAICAQQDAAAAAAAAAAAAAAEDABECBAUSITEz0QEBAQAAAAAAAAAAAAAAAAAAAwQRAAEEAQUAAAAAAAAAAAAAAAEAAgMRBBIhMZKx/9oADAMBAAIRAxEAPwDMzdwQpTkZYOGQVQpljyL7IkA7tpcSRz1/Rr3D5EQySCN+b9V2JEyRkmoXTxXUL//Z'%3E%3C/image%3E%3C/svg%3E)
Minecraft offers an engaging and creative environment where players can explore, craft, and build. One of the essential aspects of the game is mining and collecting resources, such as ores. These valuable resources are crucial for crafting powerful tools, weapons, and armor, as well as creating decorative blocks for your structures.
Whether you're a newcomer or a veteran player, discovering new ways to find ores can help streamline your Minecraft experience.
Note: This list is subjective and solely reflects the opinions of the writer

Utilizing caves/ravines and other Minecraft beginner tips for finding ores
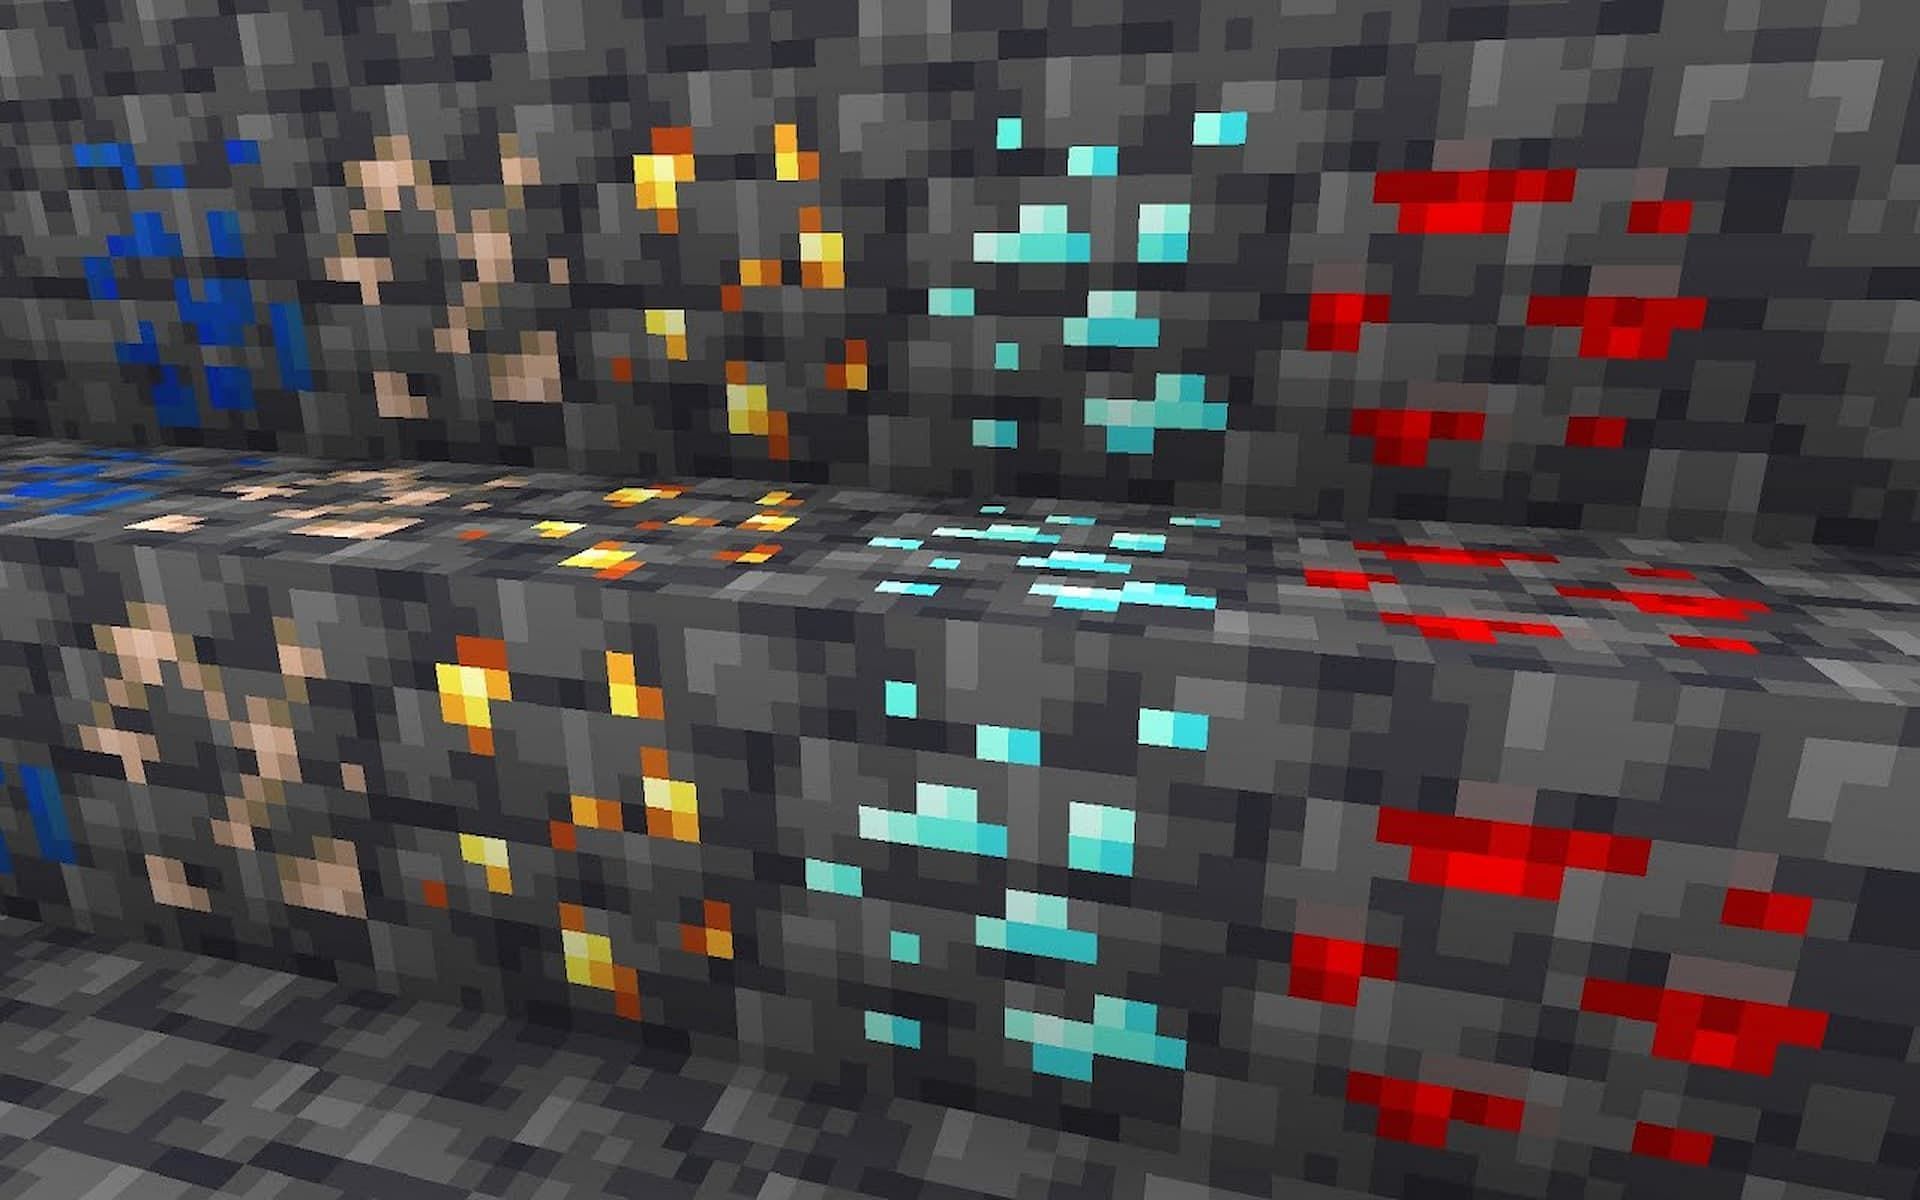
Ore is an essential element in the Minecraft universe. It plays a pivotal role in driving player progress, creativity, and survival. As the primary source of various metals and materials, ore allows players to craft a wide range of tools, weapons, and armor, fostering a sense of achievement and growth throughout the game.
The mining and collection of different ores such as coal, iron, gold, and diamond, each with its own unique properties, require strategic planning and exploration, adding an engaging layer of depth and excitement to gameplay.
Moreover, ore is critical for the development of advanced technology, including redstone circuits and powered rails, which enable the creation of complex contraptions and automated systems.
The rarity of certain ores also instills a sense of adventure and challenge, encouraging players to delve deep into the game's intricate cave systems and various biomes in search of valuable resources.
Ultimately, ore's importance in Minecraft extends beyond its practical uses; it is the lifeblood of the game's rich and ever-evolving sandbox environment, allowing players to unlock the full potential of their imagination and creativity.
Here are the five best tips for players to get started becoming a master miner in Minecraft.
5) Understand ore distribution
The first step to efficiently locate ores in Minecraft is to understand their distribution within the game world. Each type of ore has its unique generation patterns that dictate the elevation and frequency at which they appear.
Here's a quick rundown of common ores and their distribution:
- Coal: Found at any elevation between Y-level 0 and 128, but most abundant between Y-level 5 and 52.
- Iron: Spawns between Y-level 0 and 64, with the highest concentration between Y-level 5 and 29.
- Gold: Found between Y-level 0 and 32, with the highest frequency between Y-level 5 and 20.
- Lapis Lazuli: Spawns between Y-level 0 and 32, with the most abundant concentration between Y-level 13 and 16.
- Redstone: Generates between Y-level 0 and 16, most commonly found between Y-level 5 and 12.
- Diamond: Found between Y-level 0 and 16, with the highest frequency between Y-level 5 and 12.
- Emerald: Spawns between Y-level 0 and 32, but only in the Extreme Hills biome, and is very rare.
Knowing these generation patterns will allow you to target specific ores by mining at the right elevations.
4) Branch mining
Branch mining is a widely popular and efficient mining technique, often favored by Minecraft players looking to gather ores. This method involves creating a series of horizontal tunnels (branches) off a central vertical shaft, increasing the chances of exposing ores.
To begin branch mining, follow these steps:
- Dig a vertical shaft (main tunnel) down to the desired elevation for the ore you're seeking.
- Create a series of horizontal branches every 2-3 blocks apart, extending from the central shaft.
- Ensure your branches are spaced far enough apart to cover a larger area while minimizing redundant digging.
- Light up your tunnels with torches to prevent hostile mob spawns and to maintain visibility.
- Branch mining is particularly useful for finding rarer ores such as diamonds, as it allows you to cover a vast area while maximizing your chances of finding valuable resources.
3) Utilize Caves and Ravines
Caves and ravines are natural formations that expose large areas of underground terrain. These formations can be valuable for finding ores, as they often reveal multiple types of resources within a confined area. Keep an eye out for surface-level caves and ravines, and explore them thoroughly to gather ores with minimal digging.
While caves can offer a convenient starting point, be prepared for potential dangers, such as mobs spawning in dark areas. Always carry ample torches, weapons, and armor to ensure your safety while exploring these natural formations.
2) Experiment with TNT mining
TNT mining is an explosive and entertaining way to uncover ores in Minecraft. By using TNT blocks to blast away large chunks of terrain, you can expose hidden ores with minimal effort.
To get started with TNT mining, follow these guidelines:
- Craft TNT blocks using gunpowder (obtained from creepers or Ghasts) and sand.
- Dig a hole in the desired mining area, ensuring you're at the appropriate elevation for the ore you seek.
- Place the TNT block in the hole, and ignite it using flint and steel, a redstone torch, or other ignition sources.
- Stand back and watch the explosion, which will remove large sections of blocks, potentially revealing valuable ores.
- Collect the exposed ores and repeat the process as necessary.
Keep in mind that TNT mining can be dangerous, as the explosions can cause damage to players and structures. Always maintain a safe distance from the blast and ensure you're not near any valuable builds. Additionally, be cautious of using this method in multiplayer servers, as it may be prohibited or frowned upon by other players.
1) Upgrade your tools and enchantments
Investing in better tools and enchantments can significantly enhance your ore-finding capabilities. As you progress in the game, consider upgrading from wooden or stone tools to iron, diamond, or netherite tools. These higher-tier tools not only mine faster but also have longer durability.
Enchanting your tools can also provide valuable benefits for locating ores. The most useful enchantments for mining include:
- Fortune: Increases the drop rate of ores when mining, allowing you to collect more resources per block.
- Efficiency: Enhances your mining speed, enabling you to clear more blocks in less time.
- Unbreaking: Increases the durability of your tools, making them last longer before needing to be repaired or replaced.
To enchant your tools, you'll need an enchantment table, bookshelves, and experience levels. Experiment with various enchantment combinations to optimize your mining experience and maximize your ore-finding potential.
Minecraft offers a vast, immersive world filled with valuable resources and ores for players to discover. By understanding these tips, you can greatly improve your ability to locate and collect these essential resources and enhance your mining expeditions and make the most of your Minecraft experience. Happy mining!
Obsessed with Crosswords, Wordle, and other word games? Take our quick survey and let us get to know you better!
